

Essential Baking Tips for Creating Bakery-Quality Cakes at Home
Baking a cake is often viewed as a comforting, creative outlet, but at its core, baking is an exact science. While professional bakeries have specialized equipment and commercial-grade ingredients, achieving that same tender crumb, perfect rise, and flawless finish is entirely possible in a home kitchen. Transitioning from a standard homemade cake to a bakery-quality masterpiece requires an understanding of food chemistry, meticulous technique, and attention to detail. By mastering a few fundamental principles, you can consistently produce cakes that look and taste as though they came from a high-end pastry shop.
Understanding the Science of Ingredients
The foundation of any exceptional cake lies in the quality and management of your ingredients. Because baking relies on chemical reactions, substituting components or ignoring temperature requirements will drastically alter the final product.
The Critical Role of Room Temperature
One of the most common mistakes home bakers make is using ingredients straight from the refrigerator. For a batter to emulsify correctly, ingredients like eggs, butter, milk, and sour cream must be at room temperature, ideally between 65 and 70 degrees Fahrenheit.
When butter is at the correct temperature, it can trap air during the creaming process. Cold eggs added to creamed butter will cause the fat to seize and curdle, breaking the emulsion. A broken emulsion leads to a dense, heavy cake with an uneven texture.
Selecting the Right Flour
The type of flour you choose determines the structure of your cake. All-purpose flour is versatile, but it contains a higher protein content, which can develop too much gluten and result in a bread-like texture. For a delicate, melt-in-your-mouth crumb, opt for cake flour. Cake flour is milled from soft wheat and has a lower protein content, typically around 7 to 8 percent. Additionally, it is often bleached, a process that alters the starches and fats to allow the batter to hold more liquid and sugar, resulting in a moister cake.
Weighing vs. Measuring by Volume
Volume measurements using measuring cups are notoriously inaccurate. A cup of flour can vary in weight by up to 30 percent depending on how tightly packed it is. For bakery-quality consistency, invest in a digital kitchen scale and use recipes that provide measurements in grams or ounces. Weighing your ingredients ensures that the ratio of flour, fat, and liquid remains perfect every single time.
Mastering Battery Prep and Technique
Once your ingredients are properly sourced and temperature-regulated, the way you combine them determines the ultimate rise and texture of the cake.
The Art of Creaming
The creaming method involves beating room-temperature butter and granulated sugar together until the mixture is pale, fluffy, and significantly increased in volume. This process is not about dissolving the sugar; rather, the sugar crystals cut into the solid fat, creating millions of microscopic air pockets. These air pockets expand when exposed to the heat of the oven, causing the cake to rise. Creaming should take roughly three to five minutes on medium speed using a stand mixer or hand mixer.
Emulsifying the Eggs
Eggs should be added to the creamed butter one at a time, allowing the batter to fully absorb each egg before adding the next. Eggs act as a binder and provide structure, but they also introduce water into a fat-heavy environment. Incorporating them slowly prevents the mixture from separating. If the batter begins to look grainy, add a tablespoon of your recipe’s measured flour to help stabilize the emulsion.
The Gentle Fold
When it comes time to add the dry ingredients and liquids, alternate between them, starting and ending with the dry ingredients. Mix on the lowest speed just until combined, or use a silicone spatula to fold the ingredients by hand. Overmixing at this stage activates the gluten in the flour, turning a light, tender cake into a tough, chewy one.
Perfecting the Bake
An excellent batter can still fail if the baking environment is not strictly controlled. Ovens are notoriously fickle, and standard kitchen dials rarely reflect the true internal temperature.
Trust an Oven Thermometer
Internal oven thermostats degrade over time, leading to temperature discrepancies of up to 25 degrees Fahrenheit. A cake baked at too high a temperature will form a crust before it fully rises, leading to a cracked, domed top and dry edges. A cake baked at too low a temperature will take too long to set, causing the air pockets to collapse and creating a dense layer at the bottom. Hang an inexpensive oven thermometer on the center rack to verify the exact temperature before putting your pans in.
Pan Preparation Techniques
To ensure your cakes release perfectly without tearing, double-protect your pans. Grease the inside of the pan with softened butter or baking spray, then line the bottom with a round of parchment paper. Lightly dust the greased sides with flour, tapping out any excess. This creates a reliable barrier that allows the cake to slide out effortlessly once cooled.
Determining True Doneness
Relying solely on the baking time provided in a recipe can be misleading due to variances in oven performance and pan materials. Instead, use visual and physical cues:
- The edges of the cake will begin to pull away slightly from the sides of the pan.
- The top of the cake should gently spring back when lightly pressed with a fingertip.
- A wooden toothpick inserted into the center of the cake should come out clean or with a few moist crumbs attached, but no wet batter.
Assembly and Professional Decoration
A bakery-quality cake must look as exceptional as it tastes. Professional presentation requires patience and a systematic approach to assembly.
Leveling the Layers
Cakes naturally bake with a slight dome. To stack them securely, you must create a completely flat surface. Once the cake layers are completely cold, use a long serrated knife or a wire cake leveler to slice off the rounded top of each layer. Keep the blade perfectly horizontal as you cut.
The Essential Crumb Coat
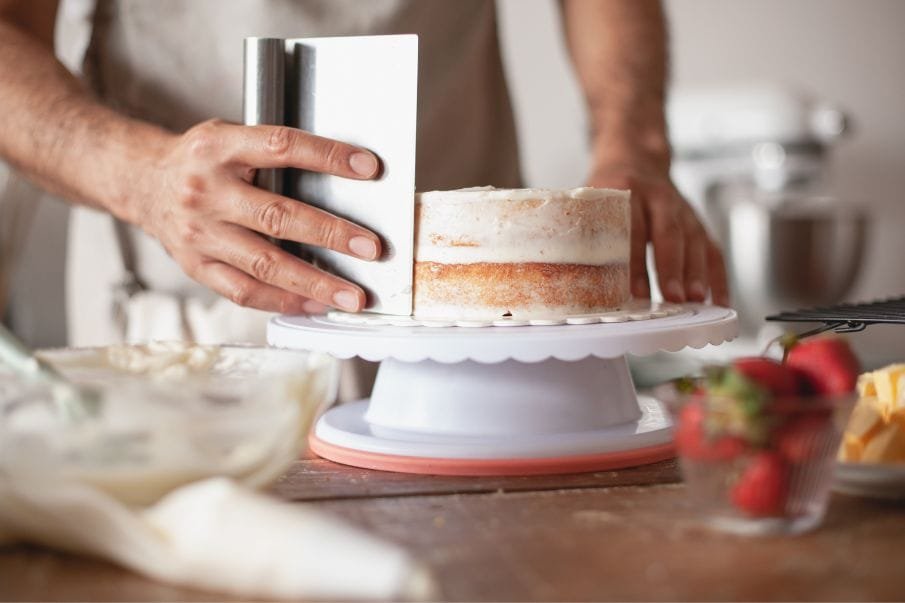
Never attempt to apply your final layer of frosting directly onto a freshly cut cake. A crumb coat is a thin layer of frosting applied over the entire surface of the cake to lock in loose crumbs. Once this thin layer is applied, place the cake in the refrigerator for 20 to 30 minutes until the frosting feels firm to the touch. This creates a smooth, stable canvas for the final, pristine layer of decorative frosting.
Frequently Asked Questions
Why does my cake sink in the middle after I take it out of the oven?
A cake usually sinks in the center due to an imbalance in the leavening agents, opening the oven door too early, or underbaking. If you use too much baking powder or baking soda, the cake will rise too quickly before the flour structure has time to set, causing the air pockets to collapse. Opening the oven door during the first half of the baking cycle introduces a rush of cool air that can also deflate a fragile rising cake.
Can I use liquid food coloring for bakery-style buttercream frosting?
Liquid food coloring adds unwanted moisture to buttercream, which can break the emulsion, cause the frosting to separate, or prevent it from holding sharp piping lines. Professional bakers use gel-based or paste food coloring. Gel colors are highly concentrated, meaning you only need a tiny drop to achieve vibrant hues without altering the consistency or texture of your frosting.
How do I prevent my cake layers from drying out while cooling?
Leaving cake layers on a cooling rack for too long will sap their moisture. Let the cakes cool in their pans for about ten minutes, then invert them onto a wire rack to cool completely. As soon as they reach room temperature, wrap each layer tightly in plastic wrap. If you are not assembling the cake until the next day, wrapped layers can be kept at room temperature or stored in the refrigerator to lock in the moisture.
What causes a cake to have a sticky, wet top crust?
A sticky top crust is generally caused by storing a cake while it is still slightly warm, or living in a highly humid environment. When a warm cake is covered or wrapped, the escaping steam condenses on the surface, creating a sticky layer of moisture. Always ensure your cake is completely cold throughout before wrapping or storing it in an airtight container.
Why is my homemade buttercream grainy instead of smooth?
Grainy buttercream is typically caused by un-sifted powdered sugar or using the wrong type of sugar altogether. Powdered sugar easily absorbs moisture from the air, creating tiny, dense clumps that do not dissolve easily in butter. Always sift your powdered sugar through a fine-mesh strainer before adding it to your fat base to guarantee a silky texture.
Should I use salted or unsalted butter for baking cakes?
You should always use unsalted butter when baking cakes. Different dairy brands add varying amounts of salt to their salted butter, making it impossible to control the exact sodium levels in your recipe. Using unsalted butter allows you to control the precise amount of salt required to balance the sweetness and enhance the flavors of your cake batter.
 How to Select the Best Bakery for Your Special Occasion
  The Art and Craft of Bakeries and Cakes: A Journey of Flavor, Tradition, and Innovation
  Delightfully Decorate Your Desserts with Edible Flowers for Cake: The Ultimate Guide
 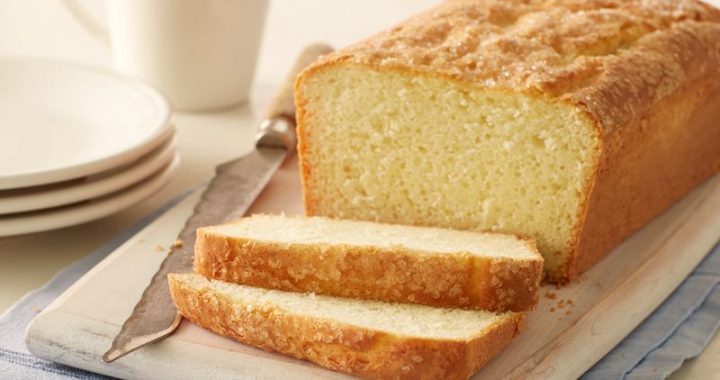 Cake Loaves of bread – Leave Your Dessert Towards The Experts
  Help guide to the right Wedding Cake
  Novelty Loaves of bread for Cakes
 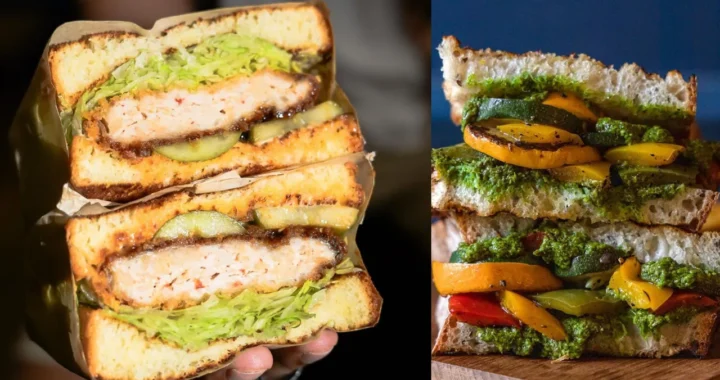 Good sandwiches near me and where to find quality lunch options
  Gym Singapore Nutrition Habits That Support Better Training and Recovery
  How Smart Food Choices Improve Energy Before and After Yoga Practice
  The Role of Innovation in the Modern Restaurant Industry